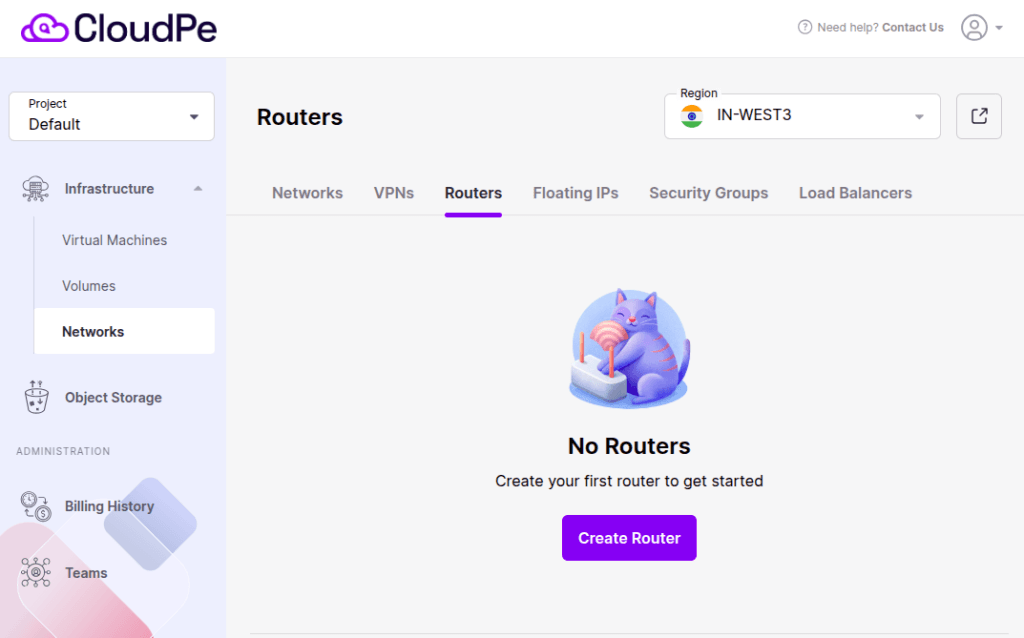
Create Virtual Router
- A virtual router between virtual and physical networks provides access to public networks, such as the Internet, for VMs connected to this virtual network.
- A virtual router between different virtual networks provides network communication for VMs connected to these virtual networks.
Step 1: On CloudPe Dashboard, go to Networks > Routers and click Create Router.

Step 2: In the Add virtual router window:
- Assign a Name to the Router.
- Specify a network through which physical networks will be accessed, select an available public network through which public networks will be accessed.
- With the SNAT enabled, it allow VMs in the private network to communicate with the Internet.

- In the Add Internal Interfaces section, select the created private network as an internal interface for the router.

- Click on Create Button.
You can view the router you created on the dashboard. Additionally, you have the option to rename or delete the router, and you can also add a network interface to it.
