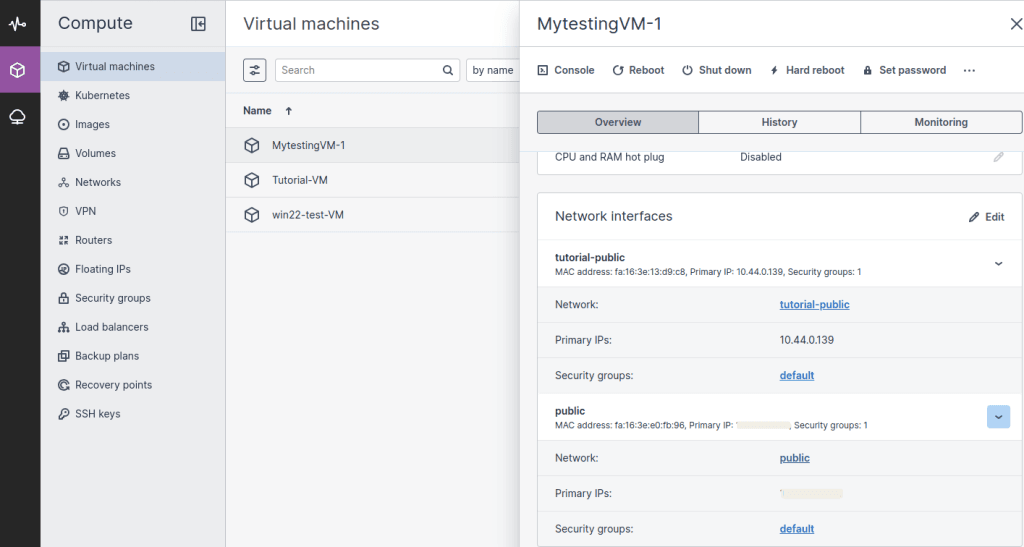
Create a virtual machine as explained in How to Create Virtual Machines.
Step 1: Access the Dashboard
Log in to your CloudPe Main Dashboard
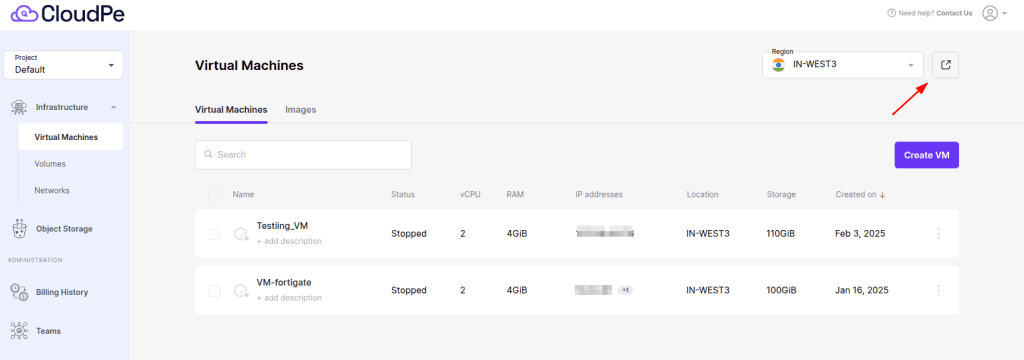
Now, from CloudPe Region Advanced Dashboard you can aasign the Public IP

Navigate to Virtual Machine to view the list of created virtual machines.
Step 2: Select the Virtual Machine
Click on the name of the virtual machine in the list to open its detailed overview.
Navigate to the Network Interfaces section and click Edit.
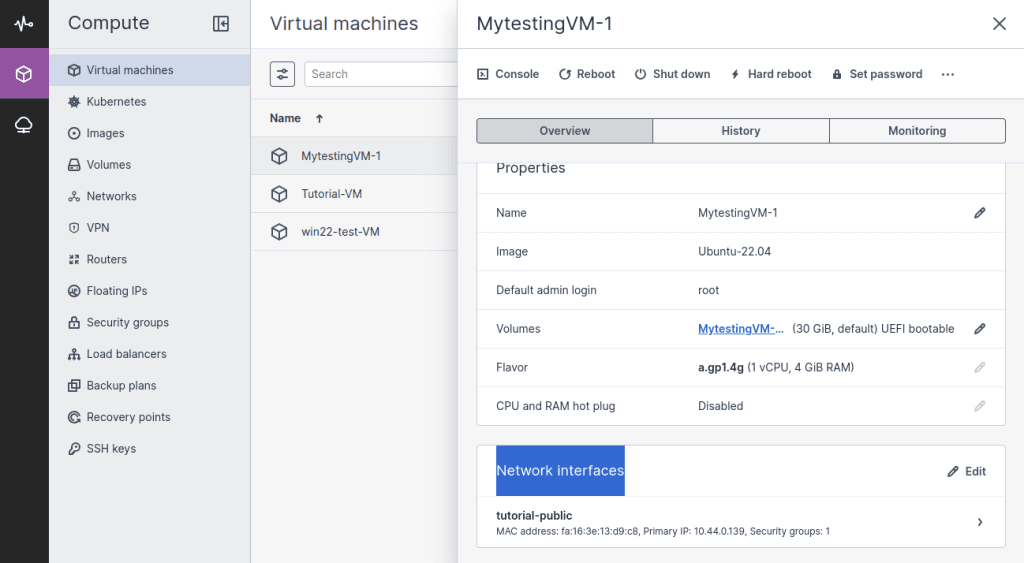
Step 3: Manage Network Interfaces
A Network Interfaces window will appear, showing the existing network configuration.
To add a new network, click on + Add.
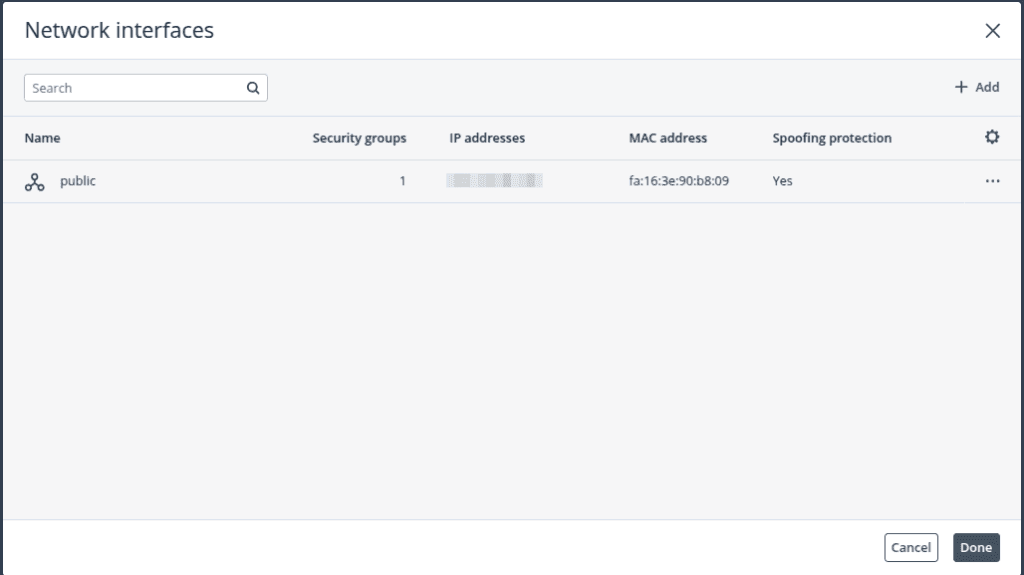
Step 4: Configure the Network
Choose a Public network for the virtual machine as per your requirements.
To add secondary IPv4 addresses, click on Secondary IPv4 Addresses.
Add or remove multiple IPv4 addresses using the Add or Delete options.
Create new security groups for your project or select the Default security group.

Step 5: Click Add to save and create the network interface.
The newly created network interface will appear in the list. Click Done to finish
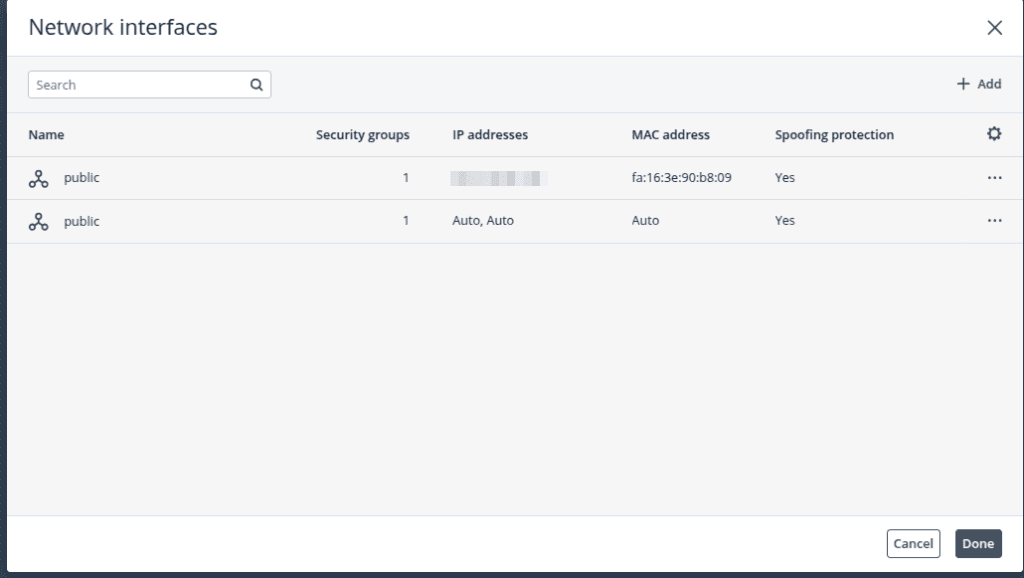
The public IP address will now be assigned to your virtual machine.
