CloudPe offers flexible and scalable infrastructure to meet the growing demands. At Cloudpe, you can quickly set up and manage virtual machines tailored to your specific needs. Whether you’re hosting applications, running development environments, or analyzing data.
To create a Virtual Machine from Advanced Panel, Click Here for more details.
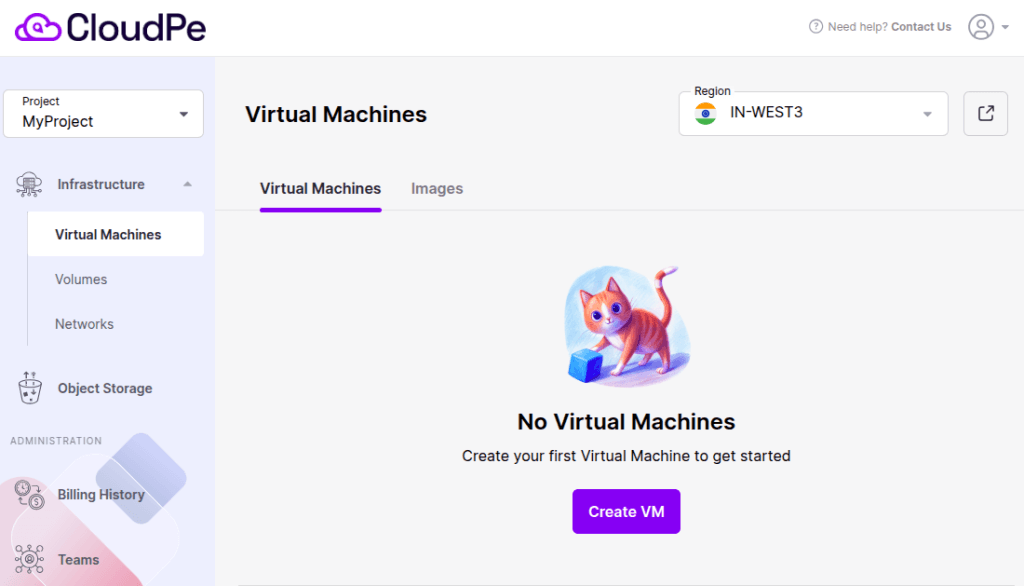
To create a Virtual Machines on CloudPe Dashboard, follow below steps:
1. Log in to your CloudPe Dashboard.
2. click on ‘Virtual Machines‘ in the main dashboard to access the VM management interface.
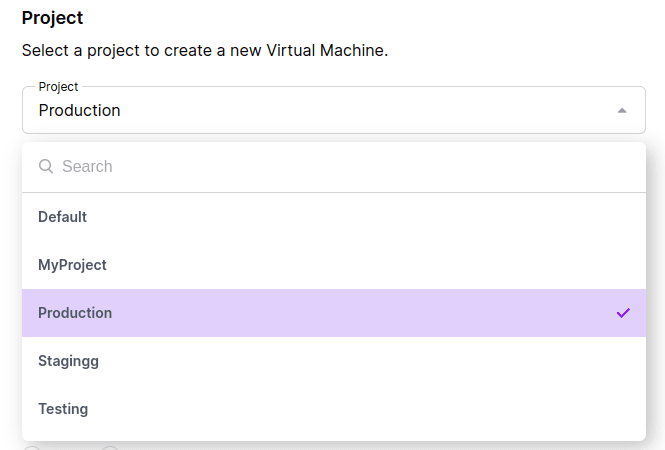
3. Select the Project:
In the Project Section, select the project from the Dropdown Menu in which you want to create the Virtual Machine.
For detailed instructions on creating a project, Click Here for more details.
4. Confirm or Select the Location:
Currently, the default location is IN-WEST3, which is automatically selected for your virtual machine.
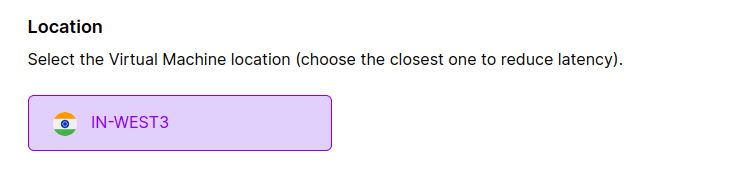
As our platform evolves, more locations will become available. When additional locations are added, you will have the option to choose a different location that best suits your requirements.
5. Select the Base OS Image:
Select the Base OS image for your virtual machine from the list of available images, click to select the operating system that fits your needs.
Custom Image: If you want to use your own Custom Image, then you can share the ISO image with us and we will make it available for you. You can share a downloadable link ofthe ISO image.
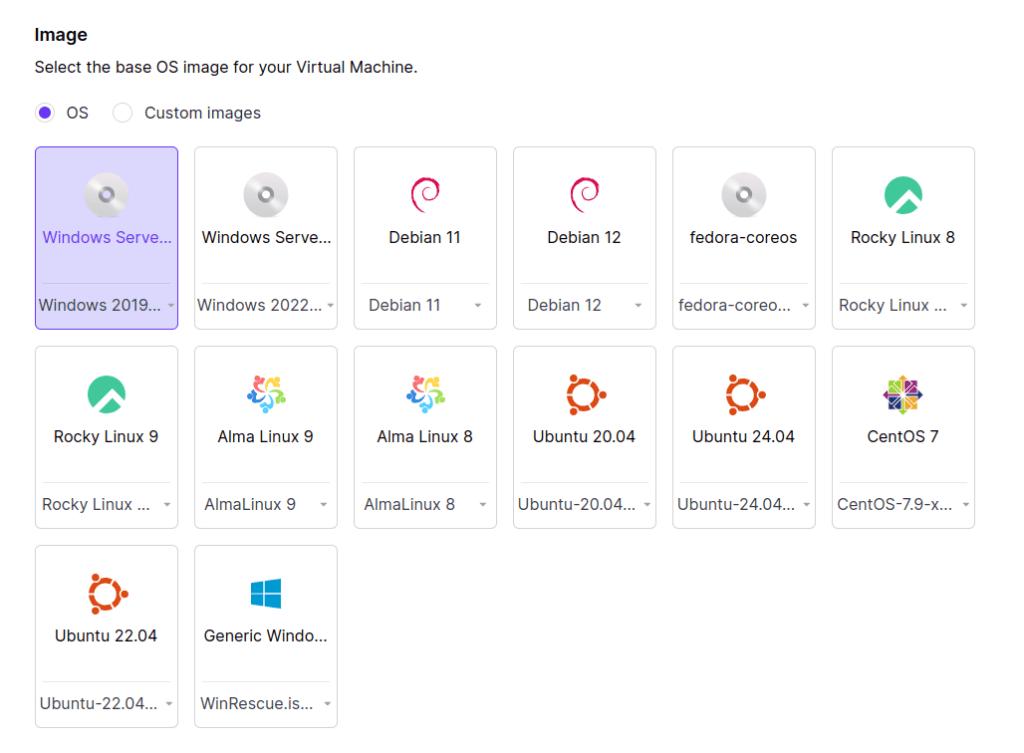
List of CloudPe Supported Guest Operating System, Click Here for more details.
6. Select the Flavor (CPU and RAM Allocation):
Click on the Flavor dropdown to view available options. These flavors represent different configurations of CPU, RAM, and other resources.
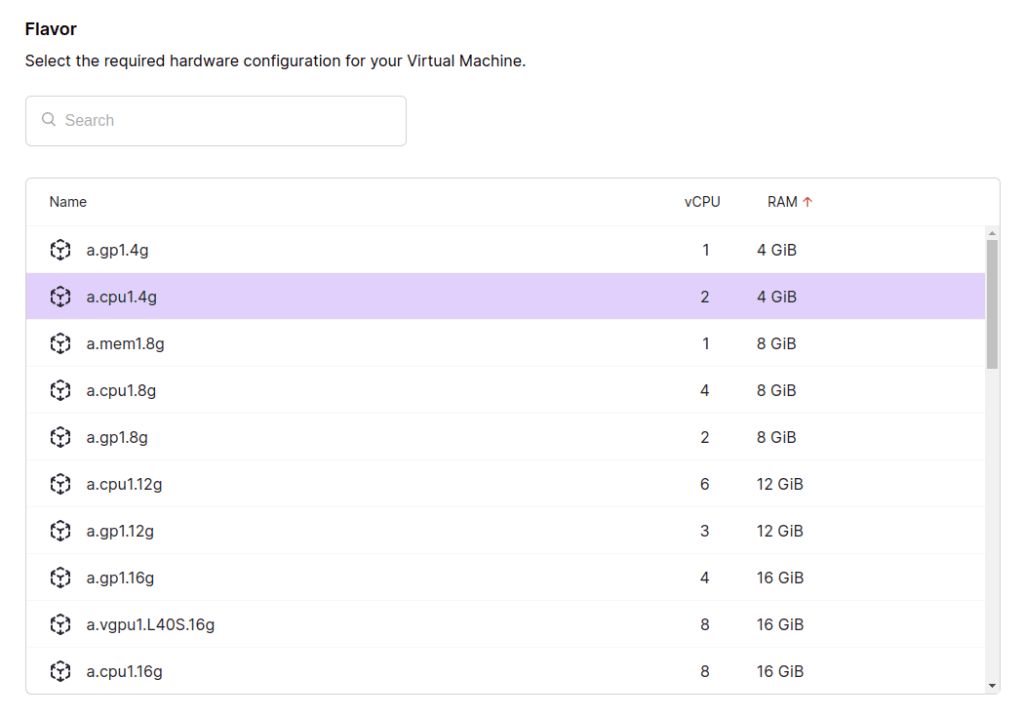
When selecting a flavor, make sure it meets the hardware requirements of the guest operating system you selected earlier. For example, some operating systems may require more CPU or memory to function optimally.
7. Configure the VM Disks:
In the Volumes section, you’ll see the default boot volume for your virtual machine. This volume holds the operating system and other essential files.
- Verify that the default volume is large enough for your operating system. If it’s too small, you will need to adjust the size in the Edit Volume window to meet your needs.
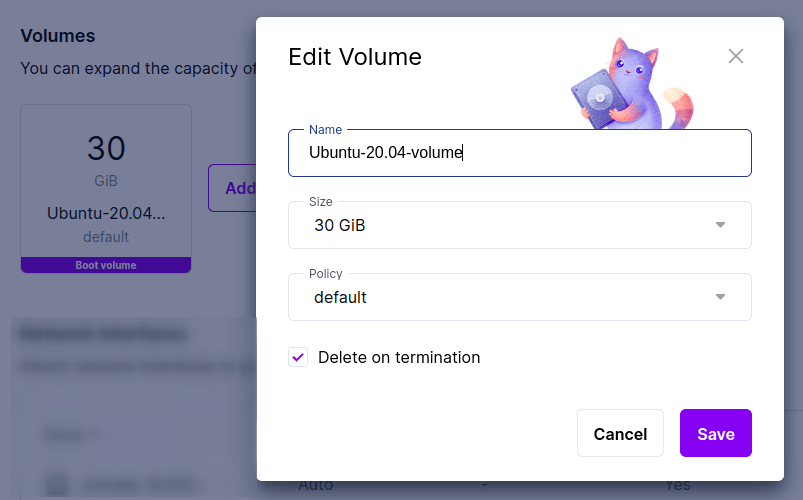
Once you’ve adjusted the volume size, click Save to apply the changes.
If you want to add extra volumes, click on Add Volume, adjust the volume size, and click Save to apply the changes. You can also attach the created volume by clicking the dropdown arrow.
To know more about Creating Volumes, Click Here for more details.
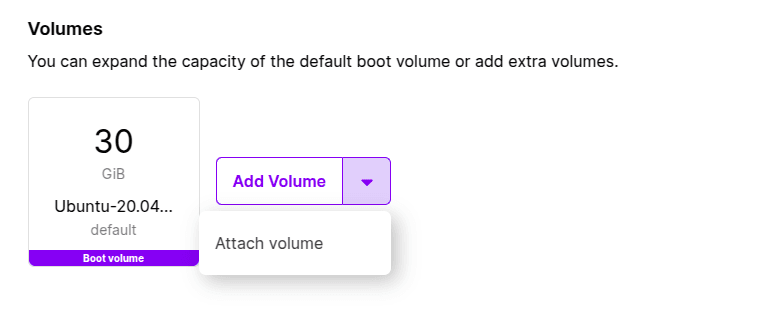
- If you require a custom volume size (e.g. 80 GiB, 150 GiB), you can create a custom-sized volume through the CloudPe Advanced Dashboard and attach it during the virtual machine creation process.
- Later you can Resize the Volume of your Virtual Machine Or Attach non-boot volumes to your Virtual Machines.
8. Add network interfaces to the VM:
In the Add Network Interface window, choose the compute network you want to connect the virtual machine to.
- A public network allows external access to your VM, making it suitable for hosting web servers, APIs, or any services requiring internet connectivity.
- Click Add Network Interface and select a public IP pool from the Dropdown arrow. Check the Assign automatically option to let the system assign an IP address.
- You can add an IPv4 or IPv6 address as needed by clicking ADD and remove it by clicking the Delete icon.
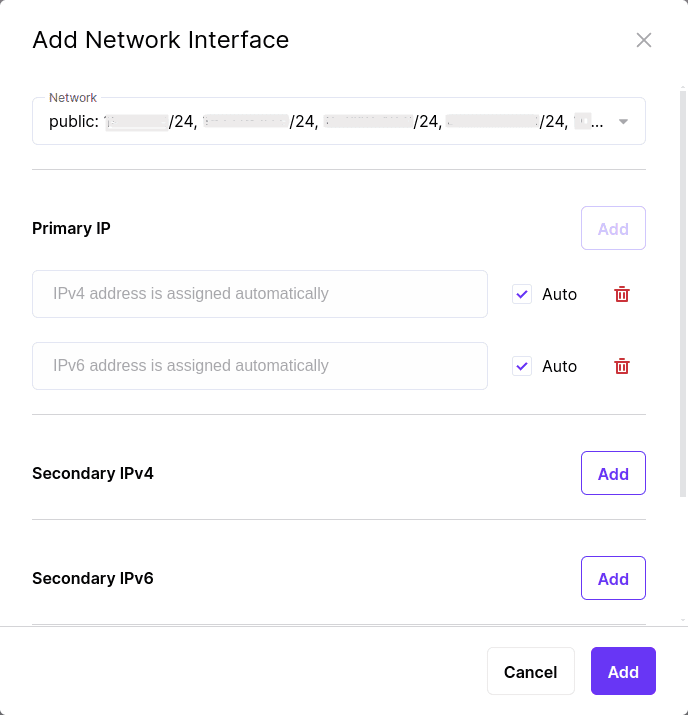
- Optionally, you can also add secondary IPv4 and IPv6 addresses in the Secondary IP addresses section. Unlike the primary IP, secondary IP addresses are not automatically configured in the guest OS. You will need to assign them manually within the virtual machine.
- If you’ve selected a network with IP address management enabled, spoofing protection is turned on by default, and the default security group is selected. This security group allows all traffic to and from the VM.
- If you need a Private IP for your virtual machine, you must set up a Virtual Private Network.
To create a Virtual Private Network, Click Here for more details.
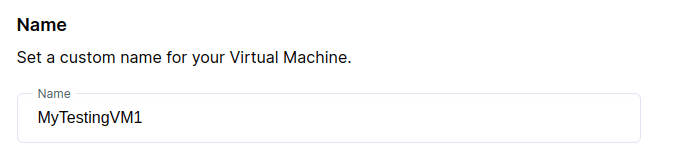
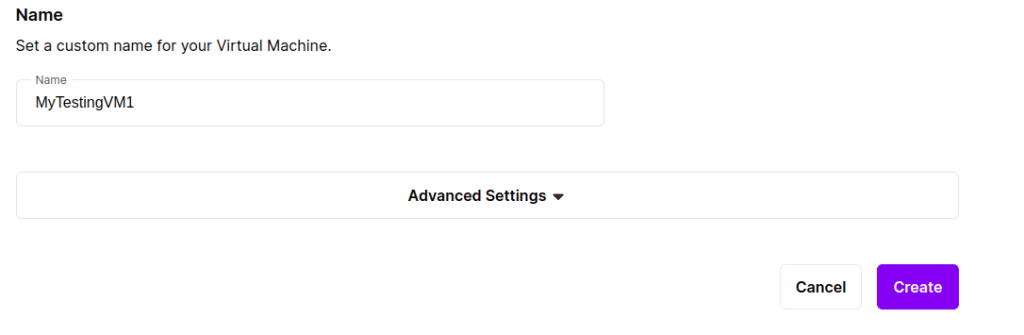
9. Assign a Name to Your Virtual Machine:
Enter a unique name for your virtual machine.
10. Advance Settings
10.1. Assign a Password to your Virtual Machine:
- Enter a strong password for your virtual machine. This password will be required to log in to the VM once it is deployed.
Tip: Use a mix of uppercase and lowercase letters, numbers, and special characters to create a strong password.
- If you prefer, you can choose to set the password after the virtual machine has been created. You’ll be able to change or reset it at any time through the CloudPe dashboard.
10.2. Choose SSH key for Authentication:
Create SSH key
To access your virtual machine securely, you can either add an existing SSH key Pair or If you don’t have an SSH key or prefer to generate a new one, select the SSH algorithm you want to use: RSA or ED25519.
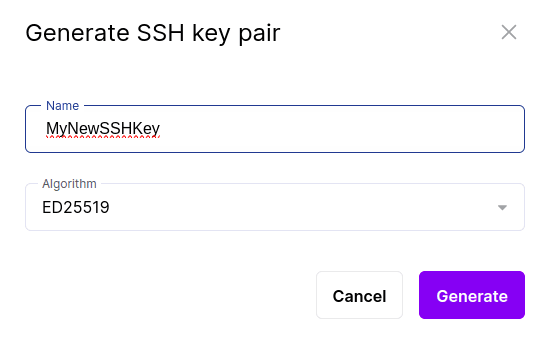
After selecting the algorithm, click on Generate to create the key pair. A .pem key file will be automatically downloaded to your device.
Additionally, you can click “Add Public SSH key” to add the public key that you generated on your server from where you wish to access the virtual machine.
To know more about SSH Key for authentication, Click Here for more details.
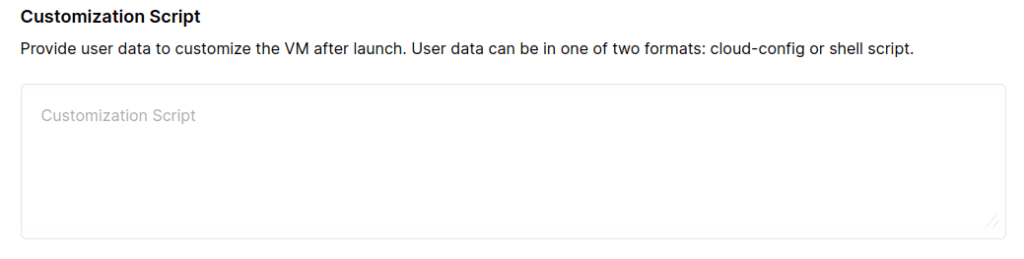
10.3. Customization Script:
Provide user data to customize the VM after launch. User data can be in a YAML-based configuration file or a shell script that runs commands on the VM upon launch.
After configuring all of the VM parameters, click on the Create Button to create your Virtual Machine.
Congratulations! Your virtual machine has been successfully created and is now ready for use. You can access it using the SSH key or password you provided during the setup process.
To manage the created Virtual Machine, Click Here for more details.