What is IIS and Why Do We Use It?
Introduction to IIS
IIS (Internet Information Services) is a flexible, secure, and manageable web server developed by Microsoft. It is used to host and manage websites, web applications, and services on Windows servers.
IIS supports multiple protocols such as:
- HTTP/HTTPS
- FTP/FTPS
- SMTP
- WebSocket
When Do We Use IIS?
IIS is commonly used when:
- Hosting ASP.NET or .NET Core web applications
- Running websites on Windows-based servers
- You require advanced integration with Microsoft products like SQL Server, Active Directory, or Windows Authentication
- Managing multiple websites on a single server
- Handling SSL Certificates for secure HTTPS connections
- Running classic ASP or other Windows-specific technologies
Benefits of Using IIS
1. Seamless Integration with Windows Environment
IIS is a native component of Windows Server, allowing effortless integration with other Microsoft products and services such as Active Directory, SQL Server, and Windows Authentication.
2. Easy SSL Certificate Management
IIS provides a user-friendly interface to easily install, manage, and configure SSL certificates, ensuring secure HTTPS communication for your websites and applications.
3. Centralized Management
With IIS Manager, administrators can conveniently manage websites, application pools, SSL certificates, security settings, and other configurations from a single, centralized dashboard.
4. Enhanced Security Features
IIS offers built-in security capabilities like authentication, IP restrictions, request filtering, and detailed access control to protect hosted applications from unauthorized access and attacks.
5. High Scalability and Performance
IIS supports advanced features like load balancing, output caching, dynamic compression, and connection limits, making it capable of handling high-traffic websites and enterprise-level applications efficiently.
6. Multiple Website Hosting
IIS allows hosting of multiple websites and applications on a single server using different domain names, IP addresses, or ports — optimizing resource utilization.
7. Advanced Logging and Monitoring
IIS provides detailed logging, real-time monitoring, and diagnostic tools that help in tracking website performance, analyzing traffic, and troubleshooting issues effectively.
8. Application Pool Isolation
With Application Pools, IIS enables isolation of different applications running on the same server. This ensures that any issues in one application do not affect others, improving stability and security.
9. Support for Windows Authentication
IIS supports Windows Authentication, making it ideal for intranet applications or enterprise environments where secure user authentication is required without the need for additional credentials.
Install Internet Information Services (IIS)
To install Internet Information Services please follow the steps below.
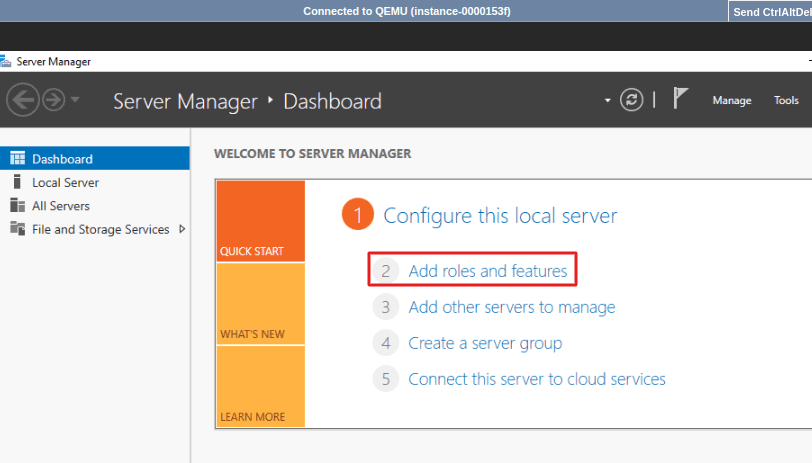
1. Open Add roles and features Wizard.
Access the Server Manager dashboard and select “Add roles and features.”
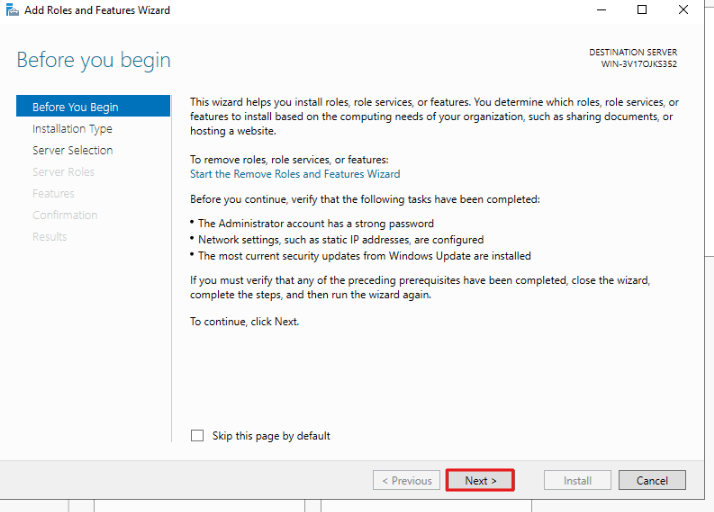
Read the information “Before you begin”, and click Next.
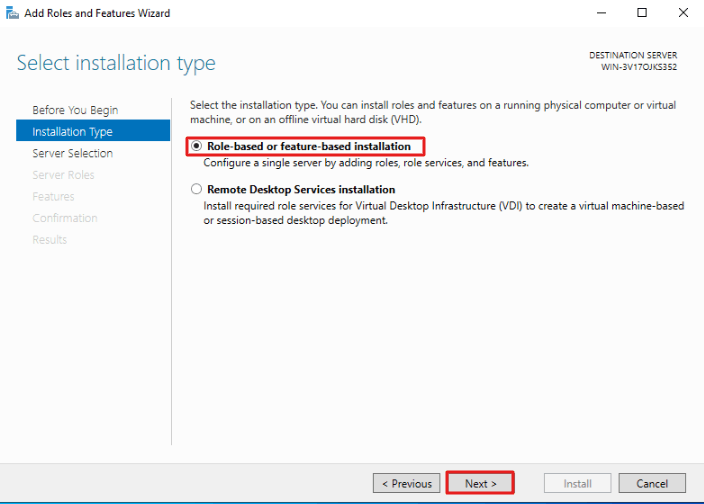
2. Select installation type
Choose a Role-based or feature-based installation and then proceed by clicking Next.
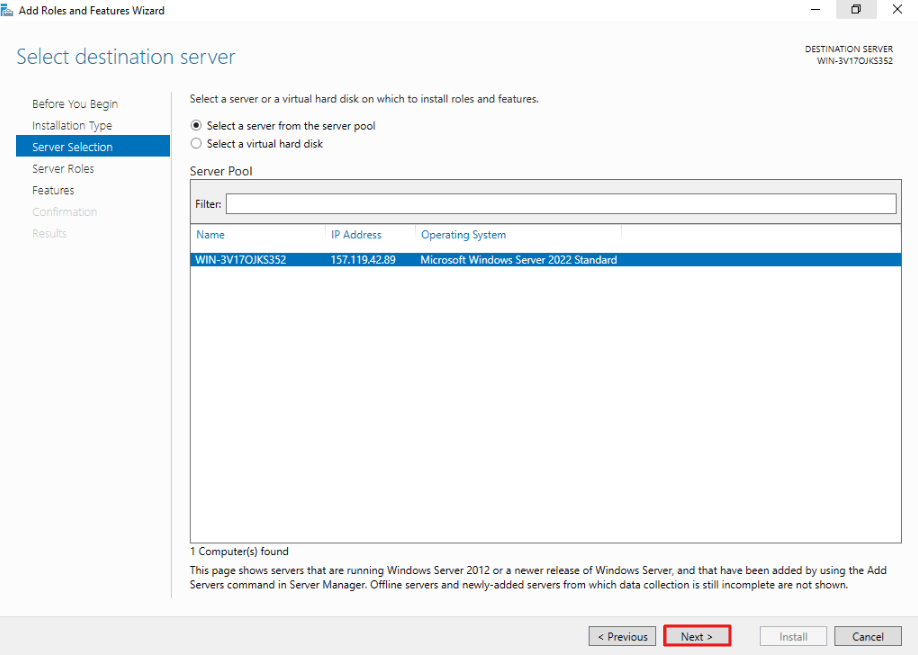
3. Select the destination server
Choose a host where you want to add services and click Next.
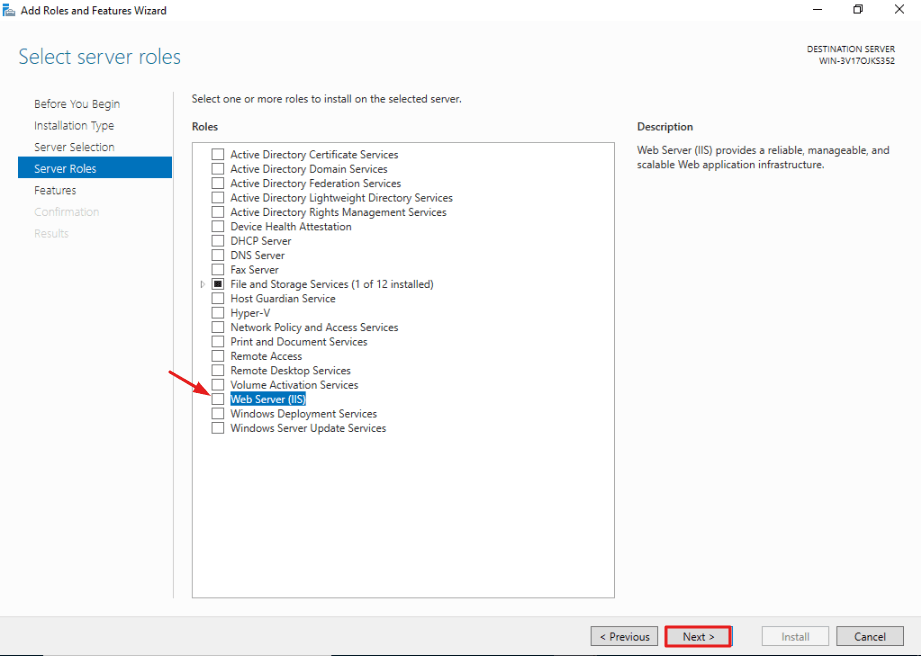
4. Select server roles
Select the Web Server (IIS) option on the server roles page.
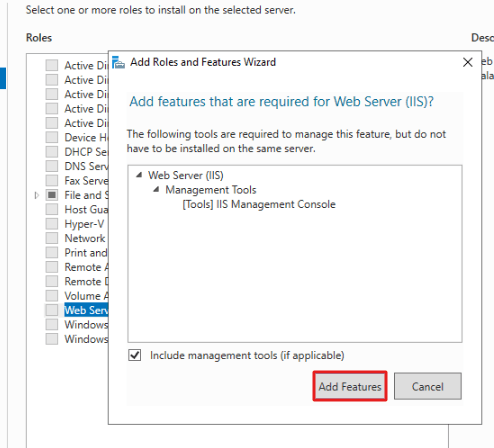
Once you select Web Server (IIS), a new window will open. Click on Add Features.
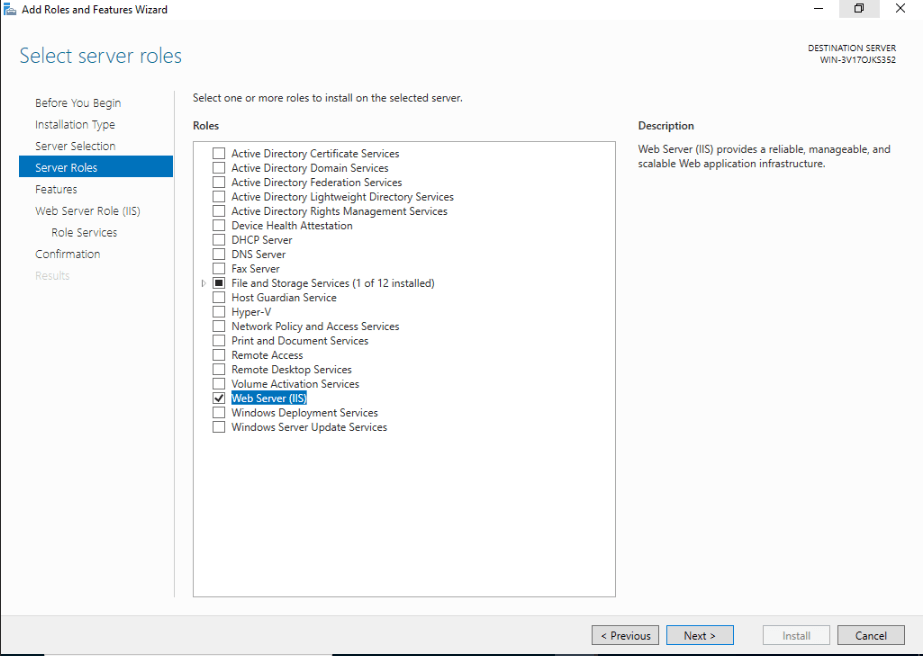
Please make sure the Web Server (IIS) option is checked and proceed by clicking Next.
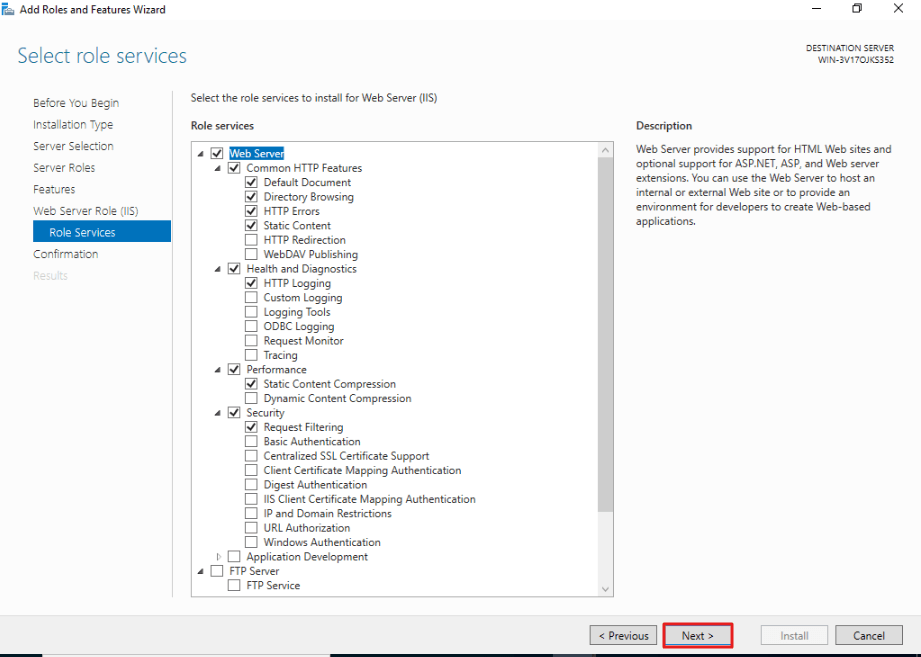
5. Select features
On the Select Features window, simply proceed by clicking Next as we do not need any additional features at this time.

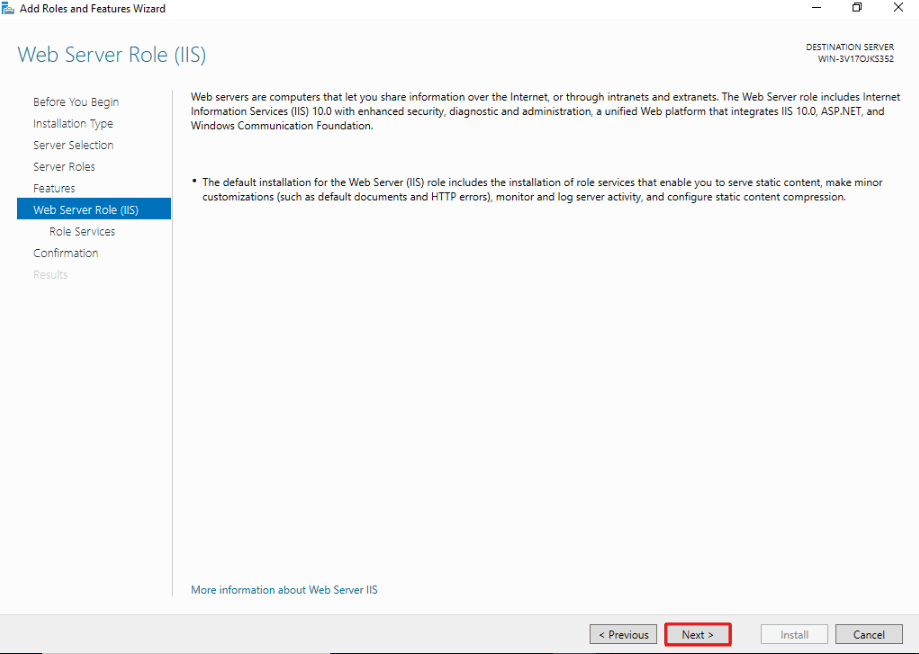
On the Web Server Role (IIS) window, you’ll find a brief description of the Web Server (IIS). Click Next to proceed.
Click Next to continue.
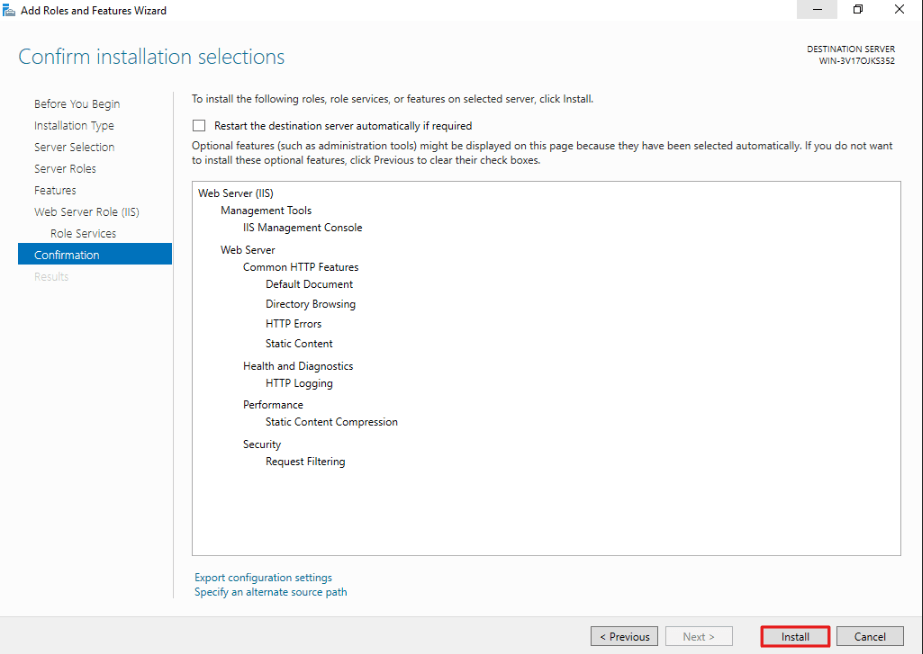
6. Confirm installation selections
Review your installation selections and then click the Install button.
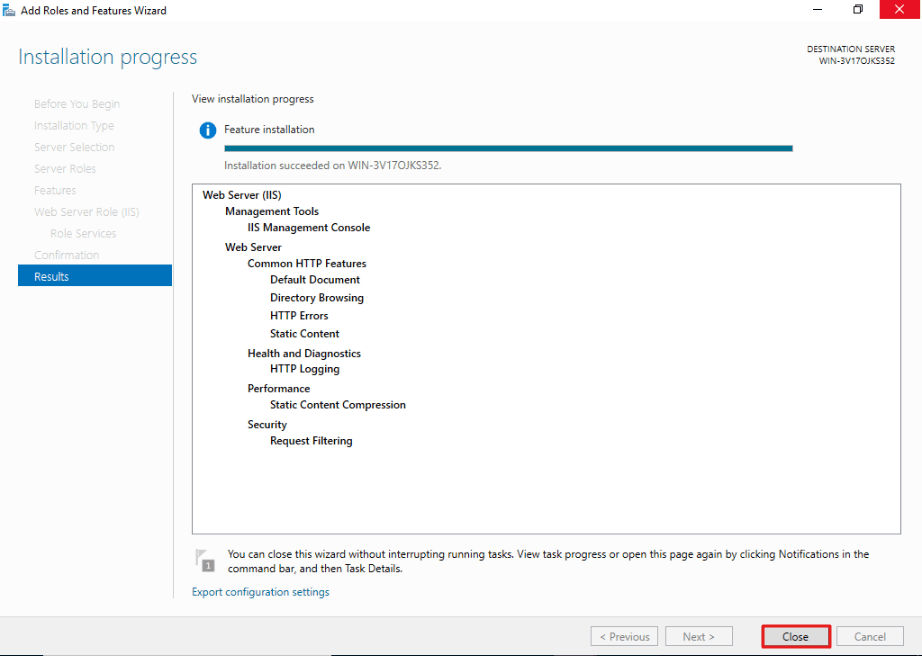
Once the installation is complete, click on the Close button.
Test your IIS installation by visiting your public server IP address.
Open a web browser and confirm that IIS is functioning correctly.
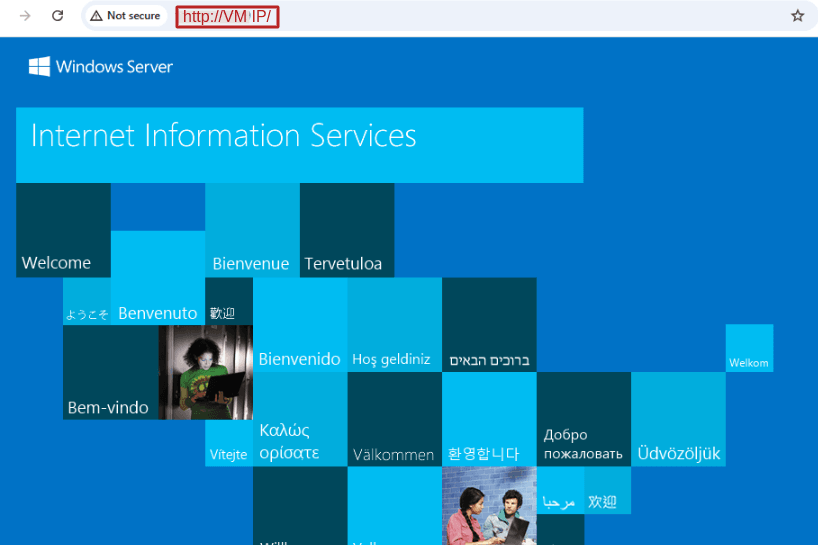
The default IIS welcome web page should be displayed.
Configure the default site on IIS
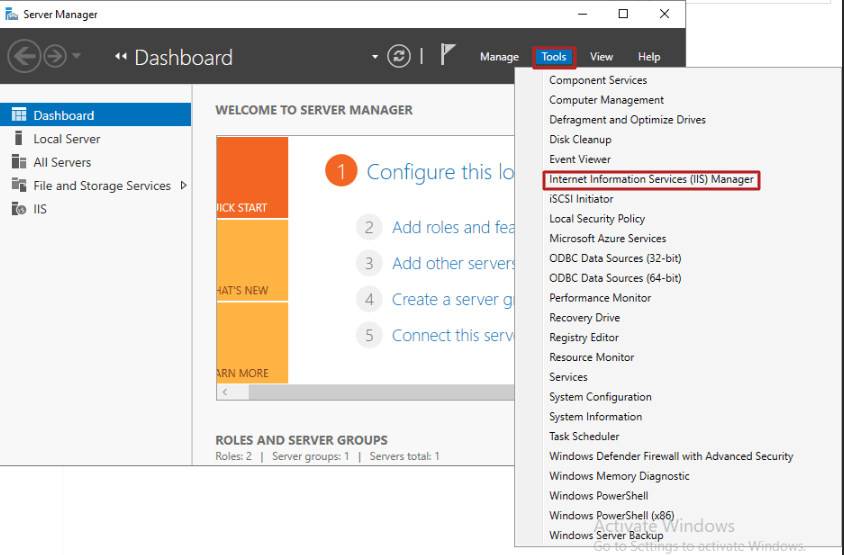
Access the Server Manager dashboard, navigate to the Tools menu, and choose Internet Information Services (IIS) Manager.
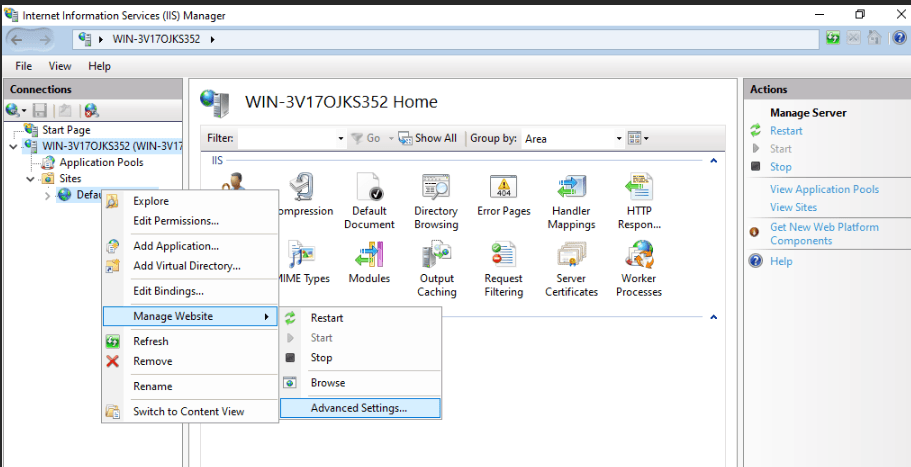
Right-click on Default Web Site, choose Manage Website, and then select Advanced Settings.
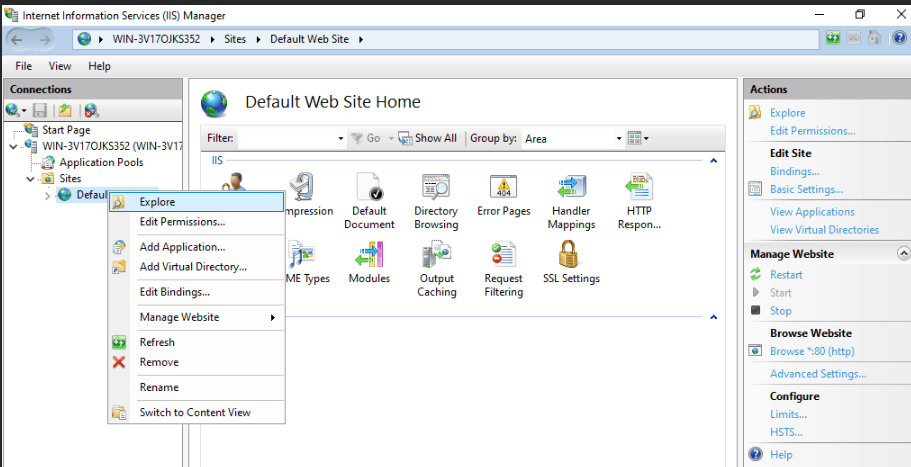
Go to File Explorer by right-clicking on Default.
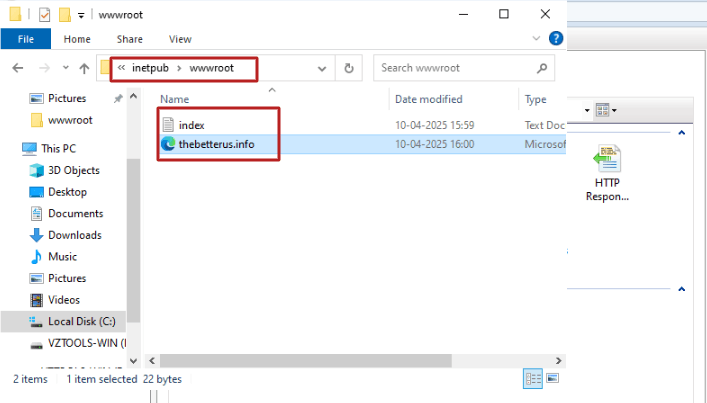
Navigate to C:\inetpub. Create a new folder and give it the name of your domain. Create a new file here. Name it index.html.
Add the test site to IIS
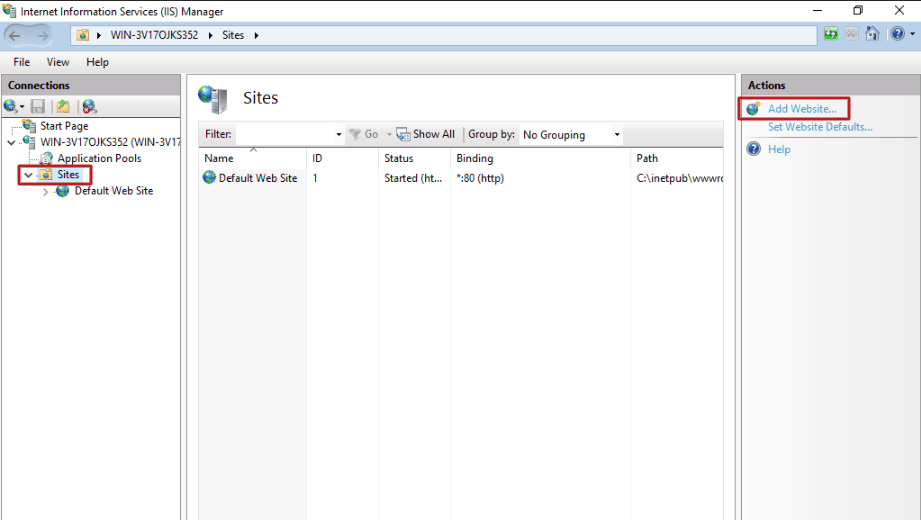
- Go to the search menu and enter IIS.
- Open the IIS manager. Under connection on the left panel, click on Host and then Sites.
- Under sections in the right panel, click on the Add Website
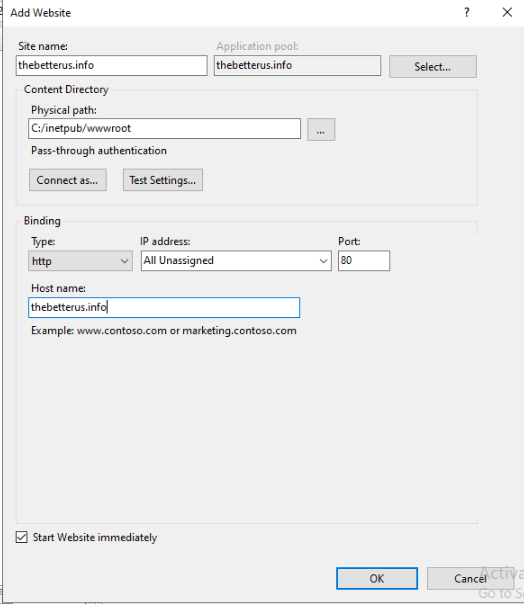
A new pop-up window will open up. Fill in a name in the box under Site Name. The Application pool is supposed to be the same as the Site Name. Under Physical path put the path of the file index.html. Put your website’s address under Hostname and leave everything else as default. Make sure the Start Website immediately checkbox is checked. Click on the OK button.
Now, you can use a web browser to access
http://thebetterus.info it again. You should see the example website.
Download a client to generate Let’s Encrypt certificates
The internet is filled with a host of clients to generate Let’s Encrypt certificates and it is up to you to choose the right fit for you. However, for this tutorial, we’ll be using the win-acme client because of its simple interface and highly developed command-line application. A pro of this client is that it also automatically renews the certificates for you. Follow the following steps to download the client.
- Download Win-ACME from:
→ https://github.com/win-acme/win-acme/releases - Scroll down a little, you’ll see the assets section. Find the zip file with the name win-acme.v2.x.x.x.zip
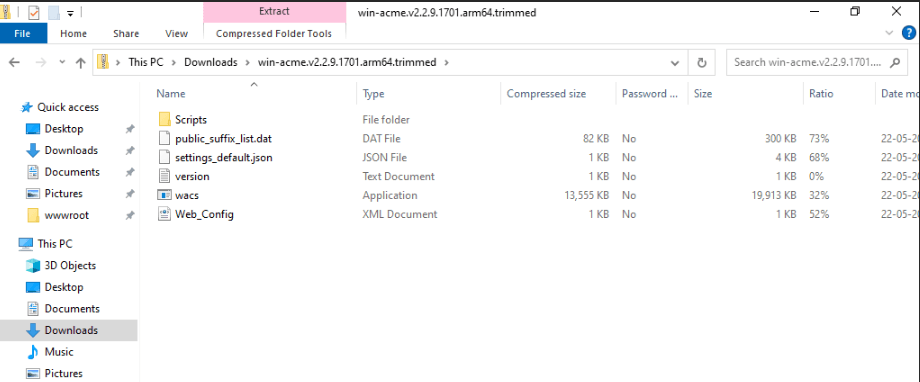
- Extract the application after downloading
Generating the certificates, finally!
Find wacs.exe from the folder you downloaded and run it. As it is an application downloaded from the internet, you might get a warning pop-up from Windows Defender. But it is completely safe to run this application as it is open source. Go ahead and click on Run Anyway, under More info.
Once the application starts, follow these simple steps.
Press N on the initial menu to choose the option to “Create a new certificate”.
Next, It will ask you “What kind of certificate would you like to create?”. Enter 1 to choose “Single binding of an IIS site” option.
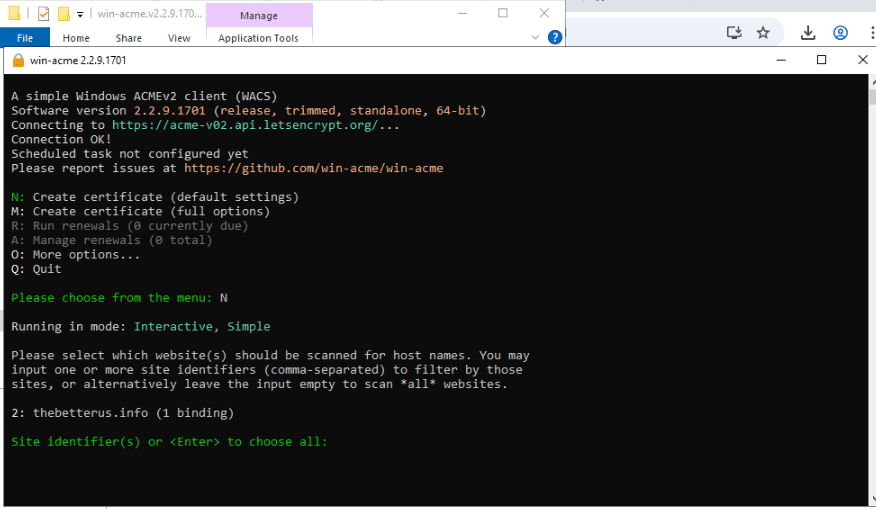
Now the application will retrieve the list of websites from the IIS server and display it in command prompt. You will see the site we created on step 2 listed there. Press the number shown in front of the site.
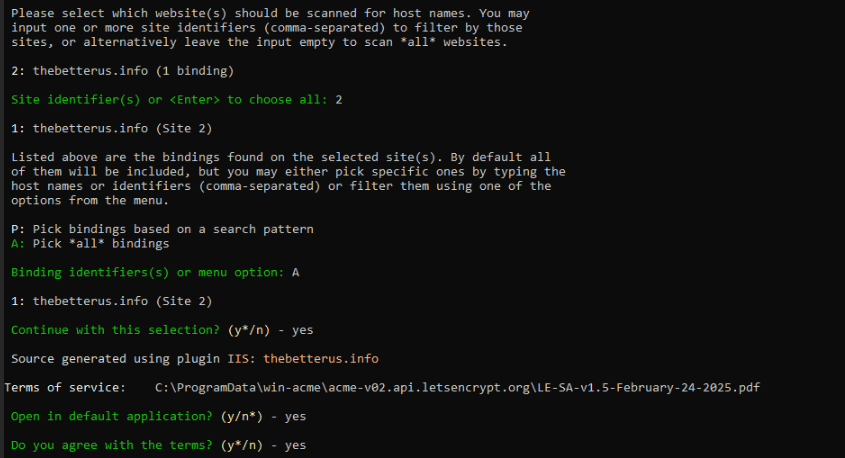
It will now ask for your email to send you renewal notices. Provide your email address and agree to the terms and conditions.
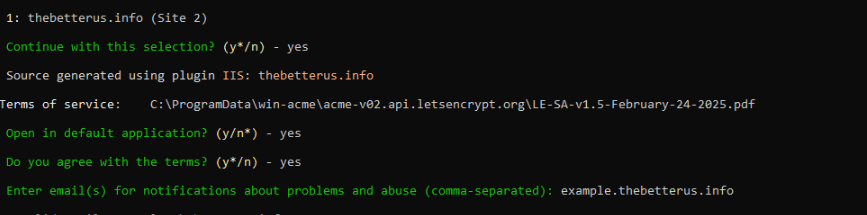
That’s it. If your domain is pointing to your server, it will successfully generate an SSL certificate for you. It will also add a scheduled task which will automatically renew the certificate when it will be due for renewal. The application will also install the SSL certificate for you.
Now, you can access your website using HTTPS, eg.
https://thebetterus.info and you should see the connection is secured with a valid certificate.
Conclusion
In this detailed tutorial, we have installed the IIS server on Windows server 2022. We also created a demo website and added it into the IIS server. Finally, we generated and installed Let’s Encrypt SSL certificate on the demo website we created.