What is Let’s Encrypt?
Let’s Encrypt is an open Certificate Authority (CA) offered at no cost by the Internet Security Research Group (ISRG). It provides digital certificates that allow websites to implement HTTPS (SSL/TLS).
Benefits of Using Let’s Encrypt
1. No charges – No payments or subscriptions are necessary.
2. Recurring Renewal – Configure it once, and let it run.
3. Safe – Employs current security standards.
4. Reliable – Endorsed by all leading web browsers.
5. Community-driven – Open-source and transparent.
How Let’s Encrypt SSL Works
1. Domain Validation (DV) – It verifies ownership of the domain through the ACME protocol.
2. Certificate Creation – The ACME client, Certbot, submits a request for the certificate.
3. Validation – Let’s Encrypt confirms domain ownership through an HTTP or DNS challenge.
4. Certificate Delivery – A certificate that has been signed is issued.
5. Automatic Renewal – Certbot has the capability to automatically renew the certificate prior to its expiration.
Prerequisites
1. A domain name (like example.com) that directs to your server.
2. Having Apache or Nginx set up.
3. Access to your server with root or sudo permissions.
4. Ports 80 (HTTP) and 443 (HTTPS) must be open.
Step 1
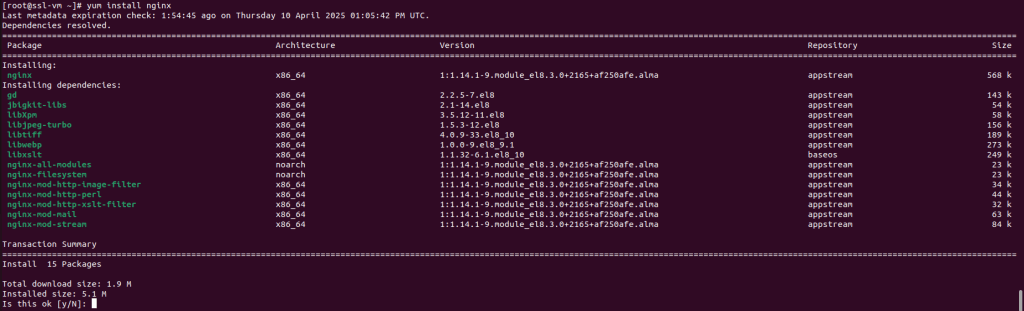
Now install the nginx package
#yum install nginx >> to install the package
For Ubuntu
#apt update
#apt install nginx -y
#systemctl start nginx.service >> to start the nginx.service
Step 2
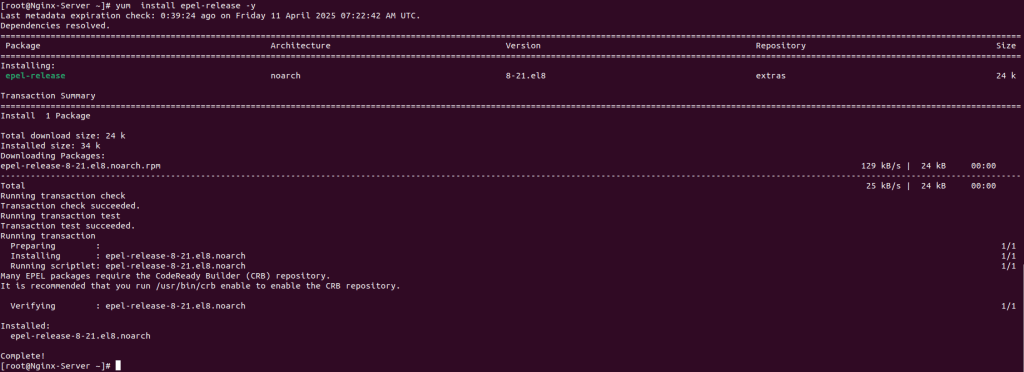
Now install epel-release
#yum install epel-release -y
For Ubuntu
#apt update
Step 3
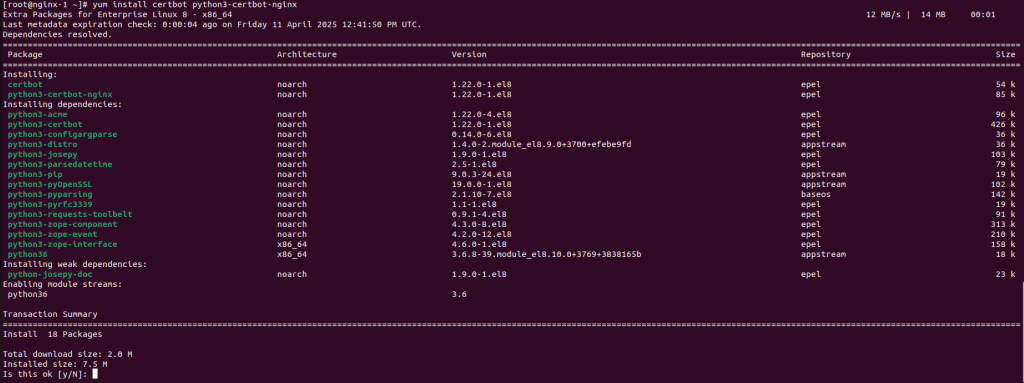
Now install the certbot package for the SSL Certificate
#yum install certbot python3-certbot-nginx
For Ubuntu
#apt update
#apt install certbot python3-certbot-nginx -y
Step 4
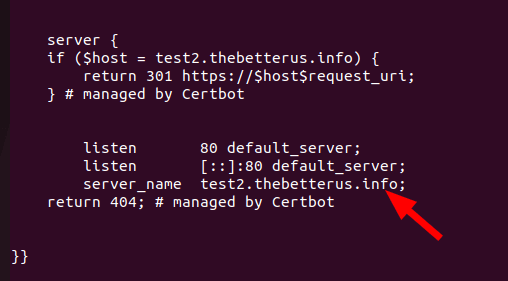
Make the necessary changes in the nginx configuration file and add the Domain name that you want to point to the server
#vi /etc/nginx/nginx.conf >> configuration file of nginx.service
Note: Before making any changes to the configuration file, make sure that you have taken a backup of the file in case of a misconfiguration. Then you should roll back the original file
Step 5
After making changes as per the requirement, make sure that the nginx service is running and active
You can check with the following command
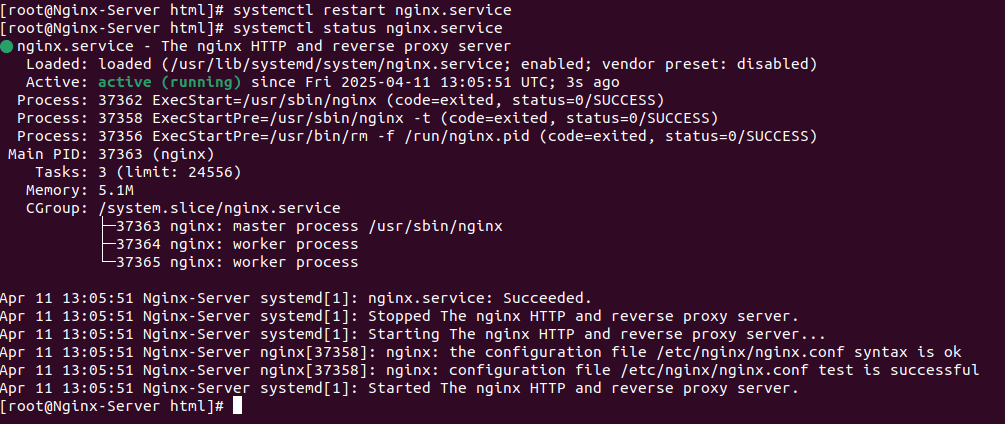
#systemctl restart nginx.service >> to restart the nginx service
#systemctl status nginx.service >> to check the nginx.service is running
Step 6
Now install the SSL certificate on the server
#certbot –nginx -d your_domin_name -d www.your_domin_name >> replace this domain name with your the actual domain name
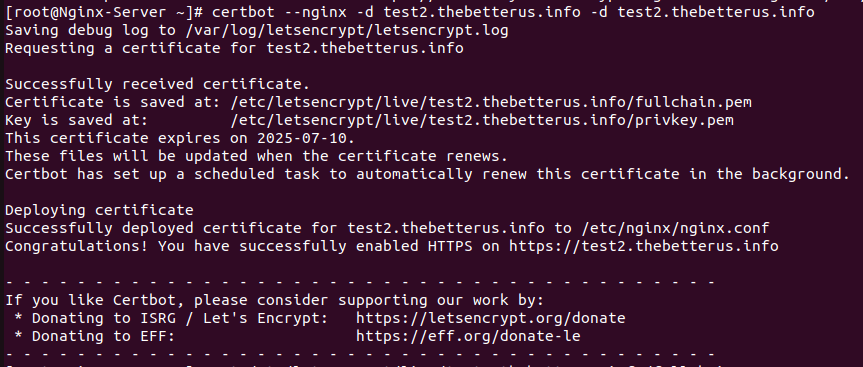
To verify whether the SSL certificate is applied or not, you can check the website like
sslchecker https://www.sslshopper.com/ssl-checker.html

To check the SSL certificate, click on this link sslchecker
Conclusion
By following these steps, you have successfully secured your Nginx web server with a free, trusted, and automatically renewing SSL certificate from Let’s Encrypt. This improves security, SEO rankings, and user trust.