The Teams feature on Cloudpe is designed to enhance collaboration and access management.
It allows the creation of Teams, adding users into the Team, and the specification of particular permissions for projects and billing.
How the Teams Feature Works:
1. To create a new team, go to the Teams section of the dashboard, give it a name, and grant team members access to things like billing or project management.
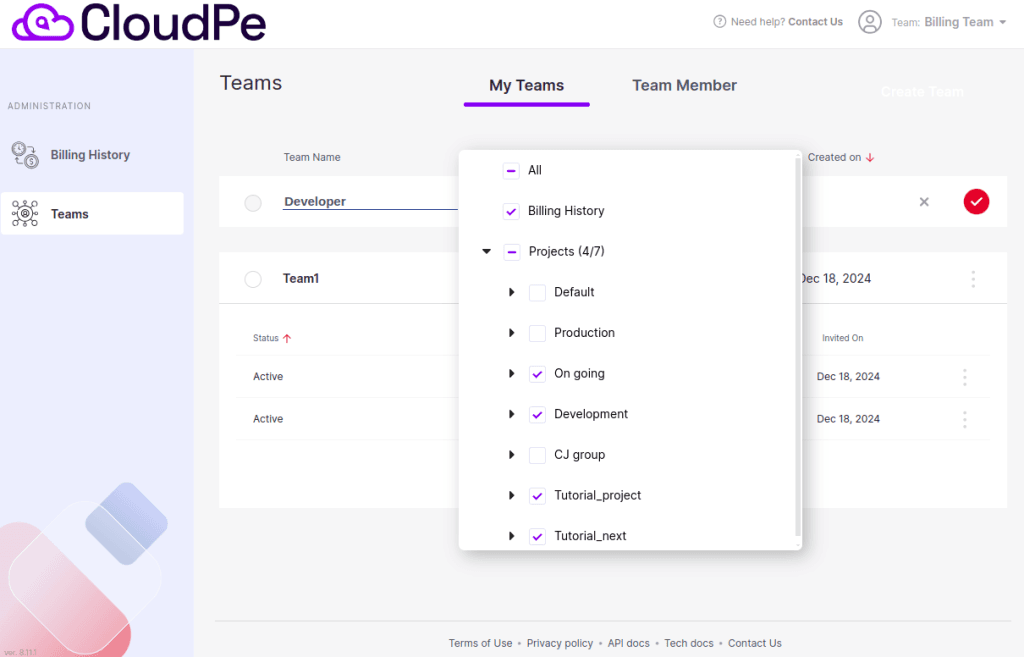
Click on [ ✓ ] to confirm and create the team.
2. As soon as the team has been created, begin inviting the people you wish to collaborate with.
Click the “Invite Member” button and enter the user’s email address to notify them of the invitation.
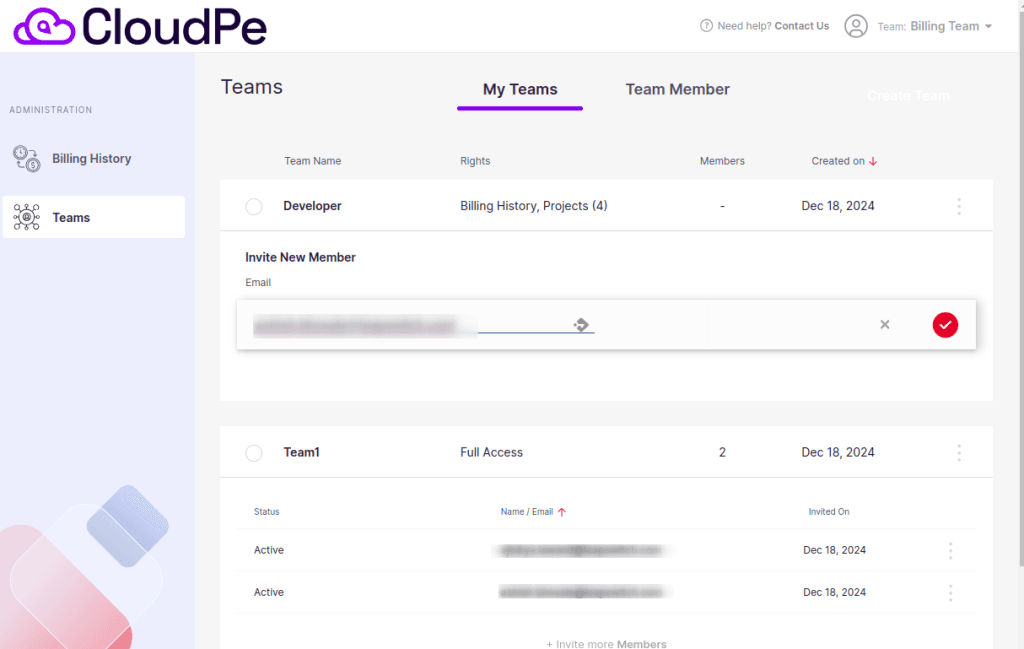
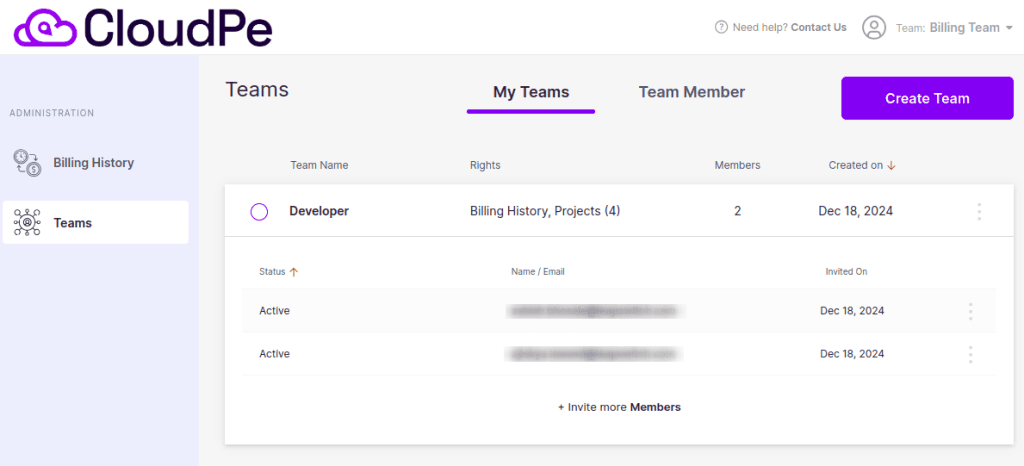
As a result, you can view the Teams you have formed and the users you have added to your Teams in My Teams Section.
3. After a team is created, you can click on the three dots that appear in front of the team name to Rename the team’s name, Edit Rights, Invite Member, or Delete Team.
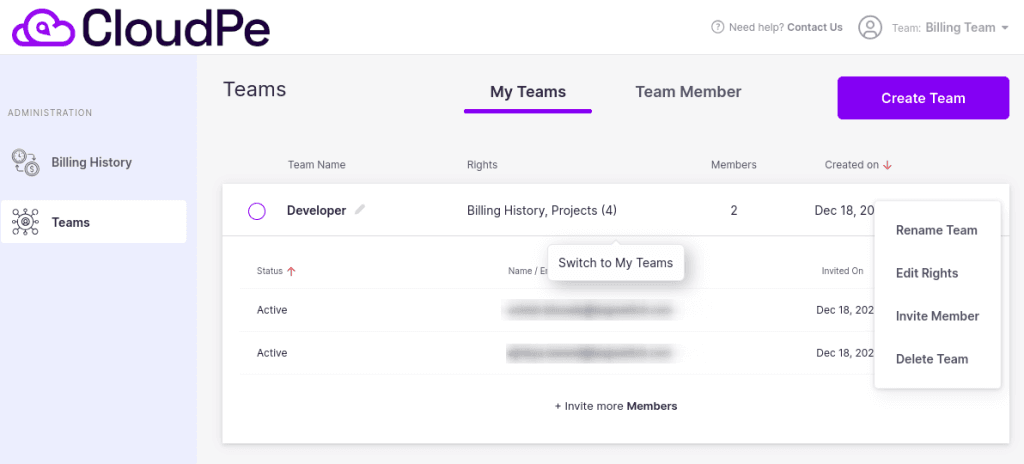
4. Additionally, to remove a user from a team, click the Remove button after selecting the three dots that appear in front of the user’s name.
5. Another area in Teams, called “Team Member,” indicates which other teams you are a member of.
- It displays the Team name and the owner of that Team, and if you have been invited to join the team by someone, you will see the “Accept invite” button on the same dashboard.
Note:- To invite someone to your team, please ensure they have an active CloudPe account.
Note:- If a member is not yet a CloudPe user and has not completed the sign-up and KYC process, you can still send an invitation to them
. After sending the invitation, make sure they complete their sign-up and KYC process.
Accepting a Team Invitation
Once the invited member completes their sign-up and KYC and logs in for the first time, they can view the pending team invitation on their CloudPe dashboard.
Go to the Teams section from the left-side menu.
Under the Team Member tab, click on Accept Invite next to the invitation.
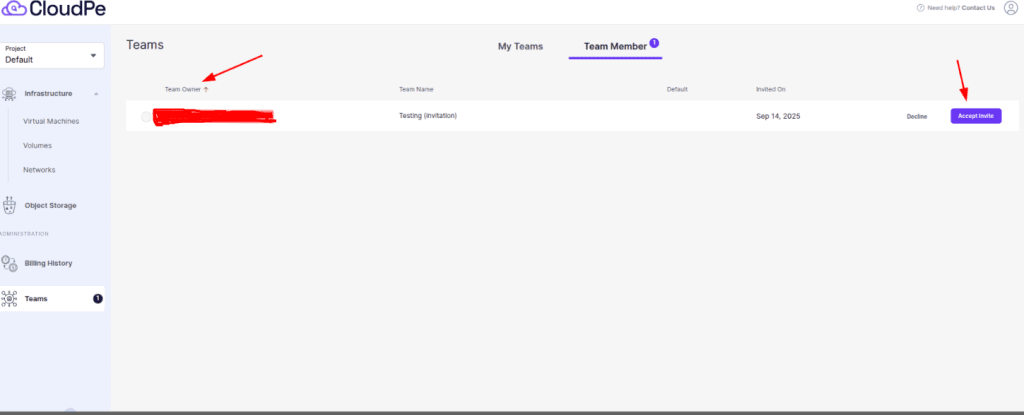
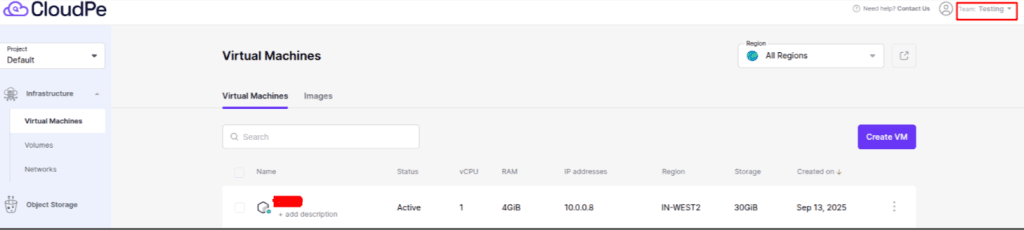
After accepting the invite, the user will be added to that team.
They can then switch to the team using the Team dropdown at the top-right of the dashboard.
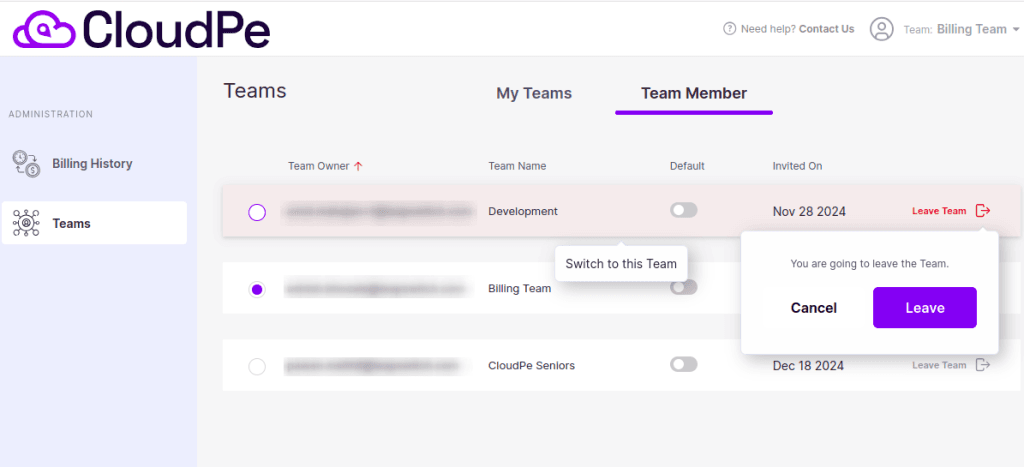
- You can click the Leave Team option here if you no longer wish to be a member of a team.
- Additionally, by choosing the team Owner-name, you can switch between the teams and see the permissions that have been granted to you, such as Infrastructure, Storage or Billing.
So this is how the Teams feature is an essential tool using CloudPe, ensuring smooth operations and secure collaboration.