🔍 What is a LAMP Stack?
LAMP is a widely used open-source web development stack that provides the foundation to run dynamic websites and web applications. It consists of four key components, each representing a layer of the stack:
| Letter | Component | Description |
| L | Linux | The operating system (OS) layer. It provides the base platform for all the other components. Popular distributions include Ubuntu, AlmaLinux, Debian, CentOS, etc. |
| A | Apache | The web server that handles HTTP requests and serves content (like HTML, PHP) to users via browsers. |
| M | MariaDB / MySQL | The database management system (DBMS) that stores and retrieves application data efficiently. In this KB, we use MariaDB, a drop-in replacement for MySQL. |
| P | PHP | The server-side scripting language that processes dynamic content, communicates with the database, and generates HTML for browsers. |
Why use LAMP?
- Open-source and free
- Easy to set up
- Highly customizable
- Large community support
- Widely supported by hosting providers and CMS platforms (WordPress, Joomla, etc.
LAMP Stack Use Cases
- Hosting content management systems like WordPress, Drupal, or Joomla
- Developing web applications using Laravel, CodeIgniter, or Symfony
- Building internal tools or dashboards for businesses
- Prototyping or launching full-scale web products
Prerequisites
- Root or sudo access.
- Clean Ubuntu 22.04+ server.
- Access to the internet.
Steps to LAMP Installation on Ubuntu
1. Update the Package Index
sudo apt upgrade -y
sudo apt upgrade -y
2. Install Apache
sudo apt install apache2 -y
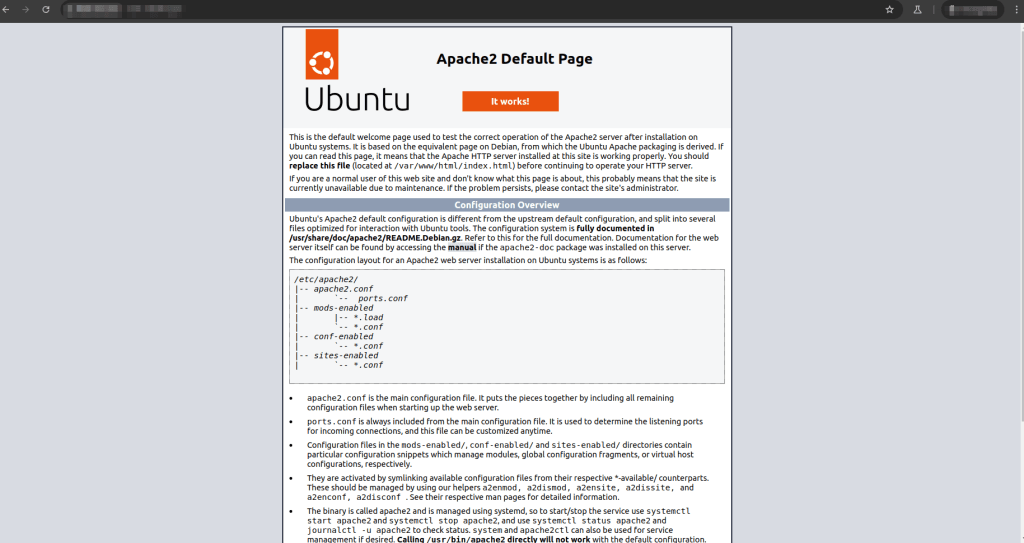
Test Apache:
Open your browser and visit: http://your_server_ip
You should see the Apache2 Ubuntu Default Page.
3. Install MySQL (or MariaDB)
sudo apt install mysql-server -y
Secure MySQL:
sudo mysql_secure_installation
Follow the prompts:
- Set root password
- Remove anonymous users
- Disallow remote root login
- Remove test database
- Reload privilege tables
4. Install PHP
sudo apt install php libapache2-mod-php php-mysql -y
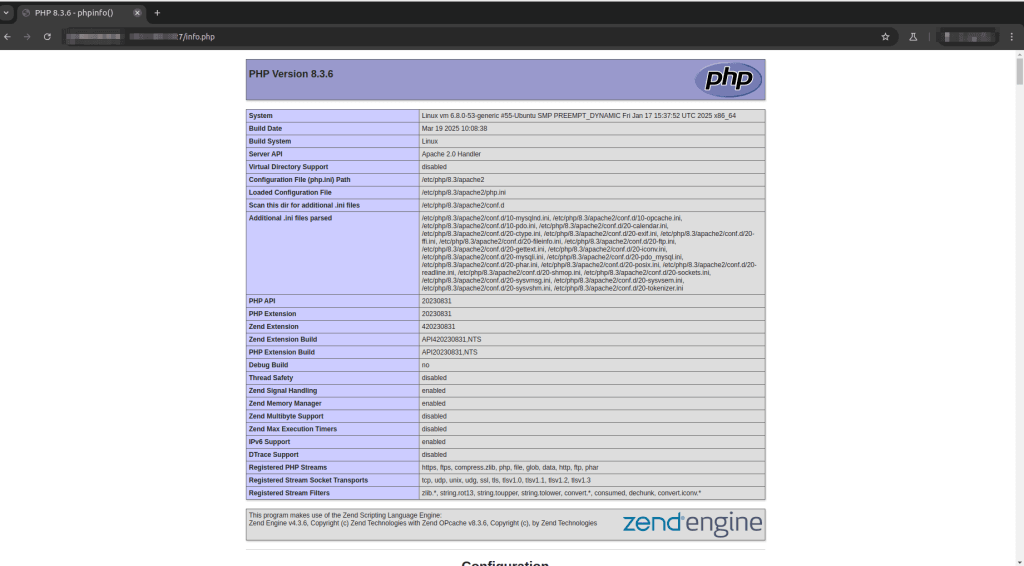
Test PHP:
Create a test file:
echo "<?php phpinfo(); ?>" | sudo tee /var/www/html/info.php
Visit http://your_server_ip/info.php
You should see the PHP info page.
5. Install phpMyAdmin
sudoapt install phpmyadmin php-mbstring php-zip php-gd php-json php-curl -y
➡️ During installation:
- Select Apache2 using spacebar and press Enter
- Choose Yes to configure db with
dbconfig-common - Set a password for the phpMyAdmin MySQL user
Manually Enable phpMyAdmin in Apache
sudo ln -s /usr/share/phpmyadmin /var/www/html/phpmyadmin

systemctl restart apache2
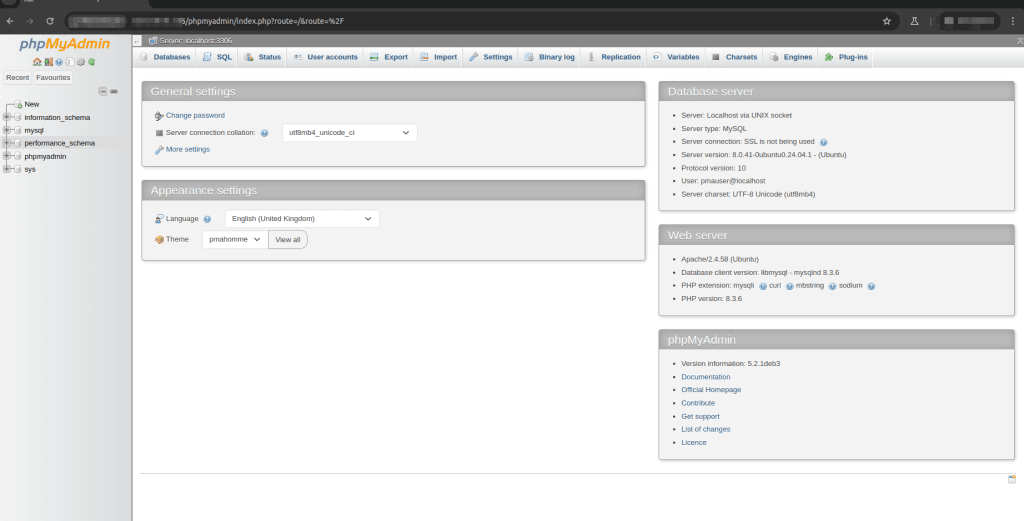
7. Access phpMyAdmin
Open your browser:
📍 http://your_server_ip/phpmyadmin
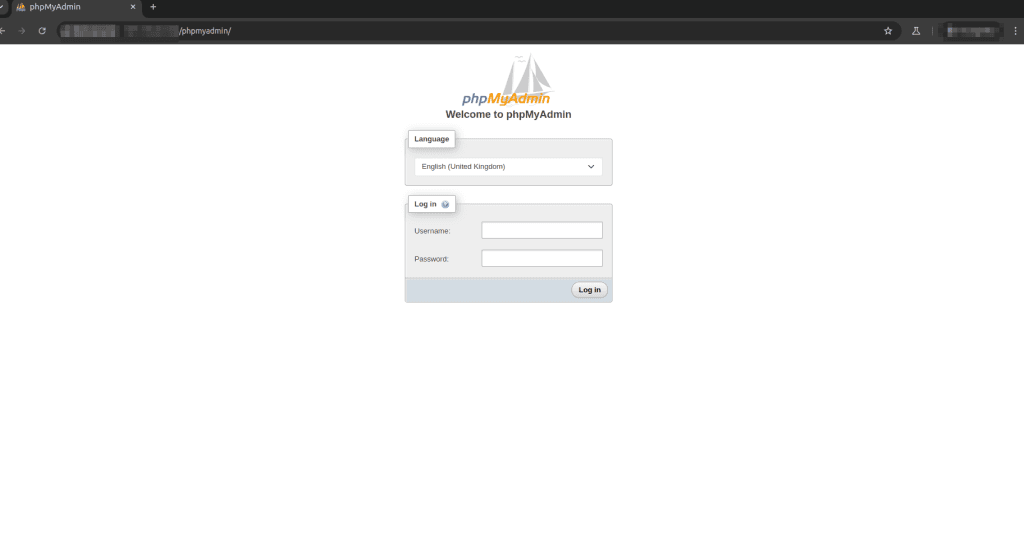
Login with:
- Username:
root(or another MySQL user) - Password: The one you set
Database Security Best Practices
After securing MariaDB, it is recommended to apply the following best practices:
- Do not allow remote root login
- Create a separate database user for applications with limited privileges
- Bind MariaDB to a private IP if used with a separate DB server
- Restrict database access using Security Groups and OS firewall
Using a Separate Database Server (Recommended for Production)
For better security and scalability, it is recommended to run the database on a separate VM.
High-level steps:
- Install MariaDB on a separate VM
- Bind MariaDB to the private IP:
bind-address = <DB_PRIVATE_IP>
- Allow port 3306 only from the web server private IP in the CloudPe Security Group
- Update application database configuration to use the DB VM private IP
Multi-Server LAMP Architecture (Overview)
For production environments, a multi-server architecture is recommended:
- Web Server VM: Apache + PHP
- Database Server VM: MariaDB
Benefits:
- Improved security
- Better performance
- Easier scaling
- Reduced blast radius